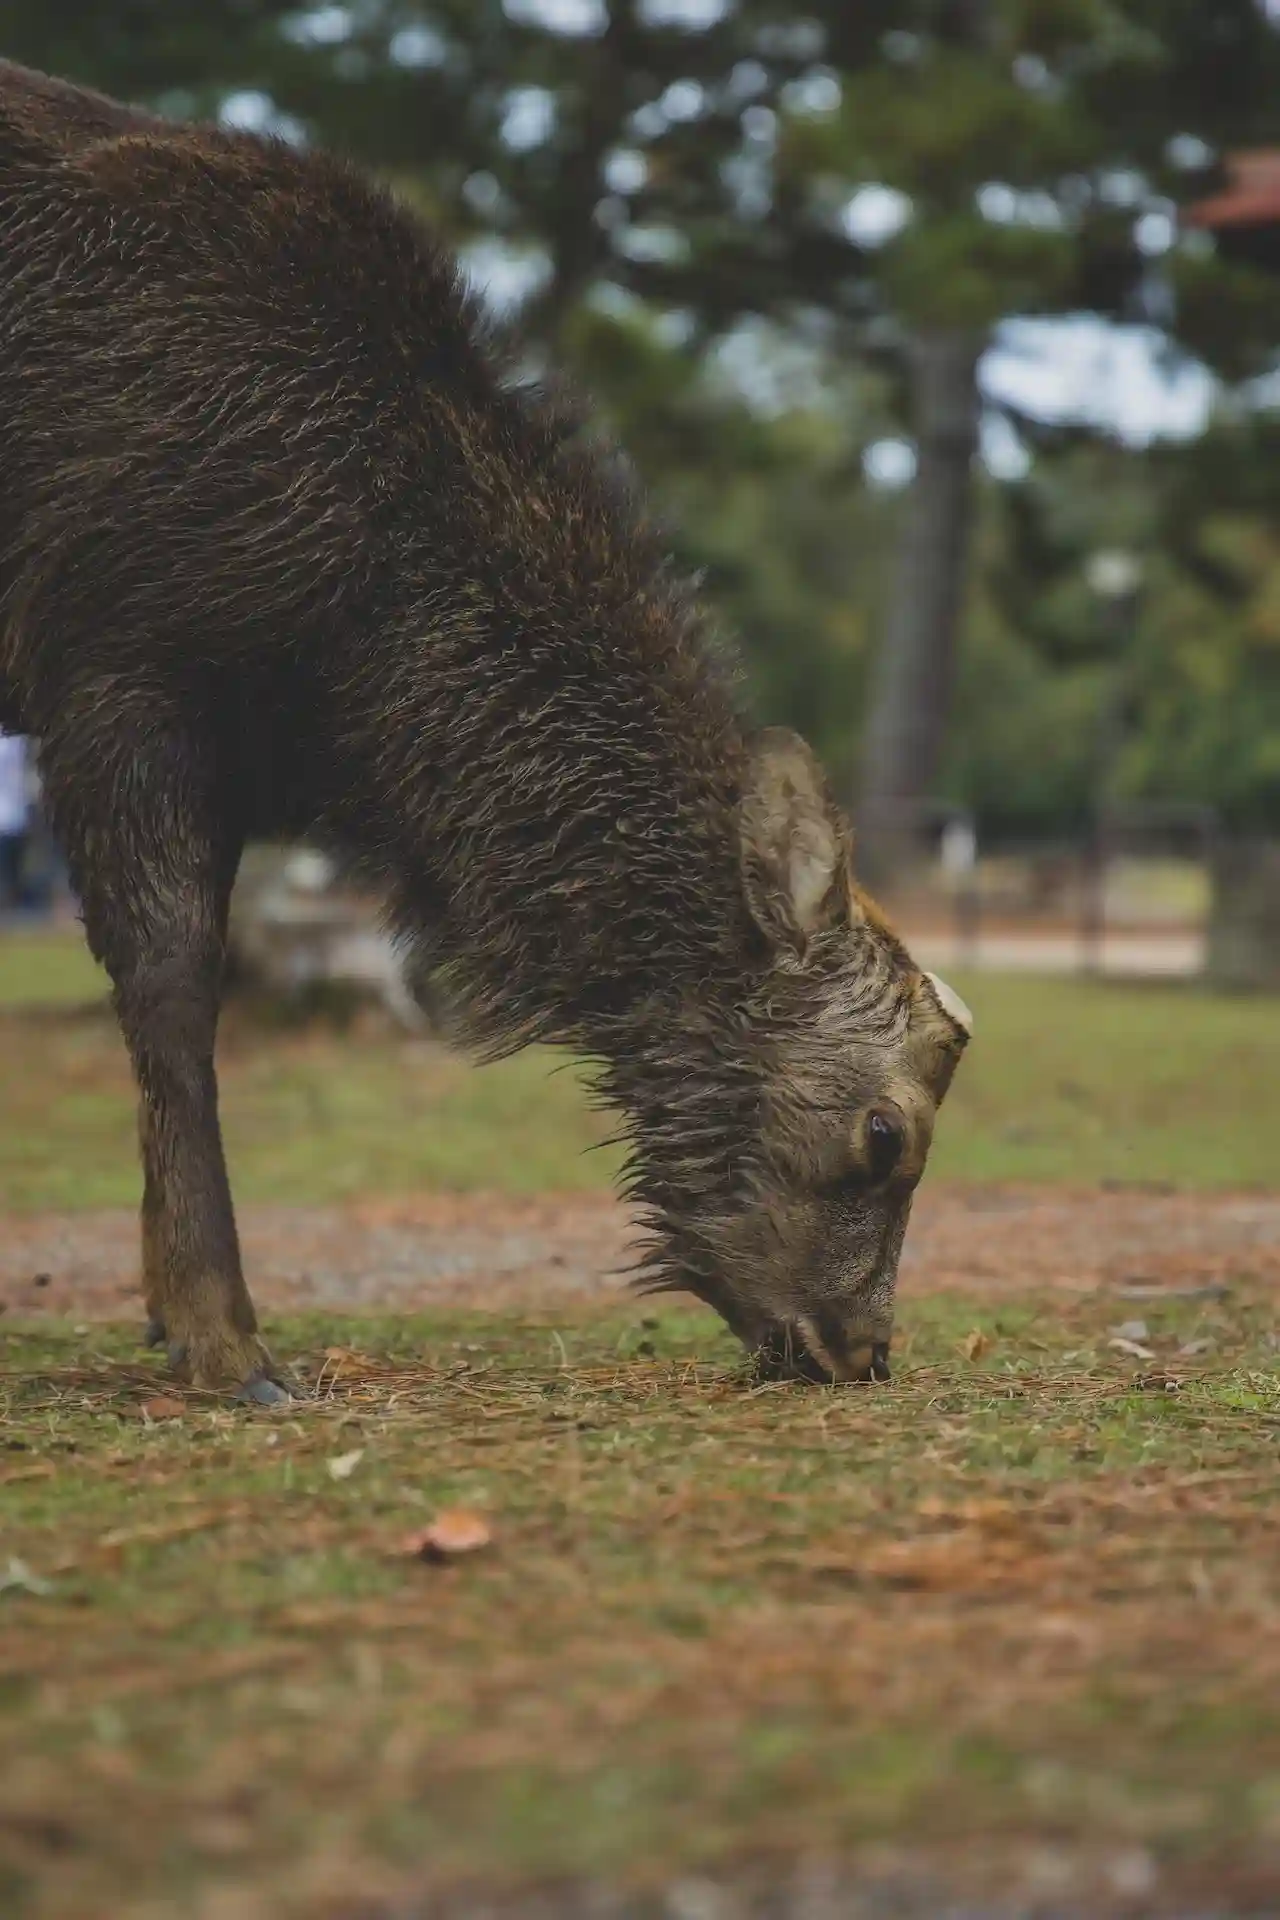
As we know, deer hunting is a thrilling activity, so you also need hunting tools. Unfortunately, the prices of hunting gear are sky-high, but there are many other options you can avail of and enjoy hunting. Our new article will guide you on how to make a takedown recurve bow at home at a minimal price.
Benefits of Making A Takedown Recurve Bow?
As everybody knows, the takedown recurve bow can be easily assembled, and parts can be easily detached, so it is easy to move around easily. So, here are some tips you can use for making the best takedown recurve bow at home; it will not only be good for our budget, but we can also make one according to the demand.
What Raw Materials for Making a Takedown Recurve Bow?
You can use any raw material, whether wood or PVC pipe, for making a takedown recurve bow. Wood will be more reliable and durable, but wood costs are higher than PVC pipes.
You also need cutters, saws, bolts, and hammers.
How To Make a Takedown Recurve Bow Riser and Standard Size?
The first thing that is important during making a takedown recurve bow is the riser of the bow. If you want to make a takedown recurve bow of 70 inches, you’ll have to make a riser of 25 inches. This is the standard size.
If you want a short bow, you’ll reduce the size of the riser according to your recurve bow size.
Choose a beautiful recurve bow riser template for your riser. Then, draw it on your wooden piece and cut it with the woodcutter. You can also make laminated risers by using various types and colors of wood or color the riser.

Techniques to Put Together Takedown Recurve Bow Parts
Make the limbs of the recurve bow. Put the limb on the riser where you want to attach it, then mark it with the dots. Make three holes with the help of a driller. Do the same process on the other side of the riser and limb.
Use bolts and attach the riser with the limbs. You can also make Siyah with the help of wood and attach them to the limbs by the same method of bolts. If you have less space, just carry all the parts and bolts so it will be easy for you to assemble them in the wilderness.
Tips for Making a bow stringer for a Recurve Bow
Now it’s time to attach string to your takedown recurve bow. Usually, people string their takedown recurve bow without a bow stringer. They put their legs across their bow and attach the string, but it could be dangerous and can harm your bow. If your bow falls accidentally, then it can break.
Instead of this, the best thing is to use a recurve bow stringer. There are many types of bow stringers available in the market, but you can make them at home without any extra effort with simple materials available at home.
Materials for Making a Takedown Recurve Bow Stringer
The materials you should need to make a bow stringer for a recurve bow are any cordage, whether it’s nylon or parachute. Make a rope. Two rectangular pieces of leather 3 by 3 inches. Hammer and screwdriver.
Procedure for Making a Takedown Recurve Bow Stringer
The procedure of how to make a recurve bow stringer is really simple.
- First, take rectangular leather pieces and make two holes on the two ends of the pieces. Make holes with the help of a screwdriver and hammer.
- Make sufficient holes so that rope passes through them easily.

- Secondly, pass the rope from one hole to the other hole that makes a loop of the leather piece, then make a note of holes to secure the loop. Do the same process on the other end.
Now your best recurve bow stringer is ready (best at home, I mean). Simple and effective!
String Your Takedown Recurve Bow with Stringer
Now use your bow stringer tool. Attach one loop of the stringer to one side of the limb and the other to the other side of the limb. Now pull your takedown recurve bow upside down carefully without twisting the limbs in a curved shape, attach your bow string and remove the bow stringer. Now your takedown recurve bow is fully prepared to hunt a deer down.
Frequently Asked Questions (FAQs)
Is the use of a Bow stringer good for beginners?
If you are a beginner, then it will be harder in the start for you to use a bow stringer, but over time, you’ll be fine with it.
Wood or PVC pipes which material for making takedown recurve bow is better?
Wood is a good option if you make a takedown recurve bow for deer hunting.
What is the benefit of takedown recurve bow?

The important benefit of a takedown recurve bow is that you can easily detach all the parts and can assemble them in no time.
Which shape of the riser is good?
You can choose the shape of the riser according to your choice, whether it is in a D shape or curved shape.
Final Thoughts
Ultimately, I would like to suggest giving this method a try and making a takedown recurve bow at home. With this procedure, you can make a professional takedown recurve bow at home and can enjoy your deer hunting. This bow is a great choice for a great deer hunt you can have.

